


Creating a ‘wafty’ border with Harrod Horticultural - By Emma Jo Real Davies
Now is the perfect time to start thinking about digging a new border into your garden. Having moved into a new house within the last year, I’ve been desperate to add 2 borders to the garden, despite an ongoing disagreement with my boyfriend as to whether they should be straight and neat (his preference) or curved and ‘wafty’ (my preference).
We’ve got a stereotypical terraced house garden - long, flat and narrow, with a patio outside the back door and some raised, rotten decking at the rear of the garden (my next project after the ‘wafty' borders). We wanted to divide the garden up into sections while also keeping a bit of lawn - controversial, I know, but is there anything better than walking barefoot on freshly mowed grass?
A garden, and especially a new garden, can be overwhelming at times, especially when you haven’t got a garden designer at hand to draft a quick sketch of your ‘vision’.
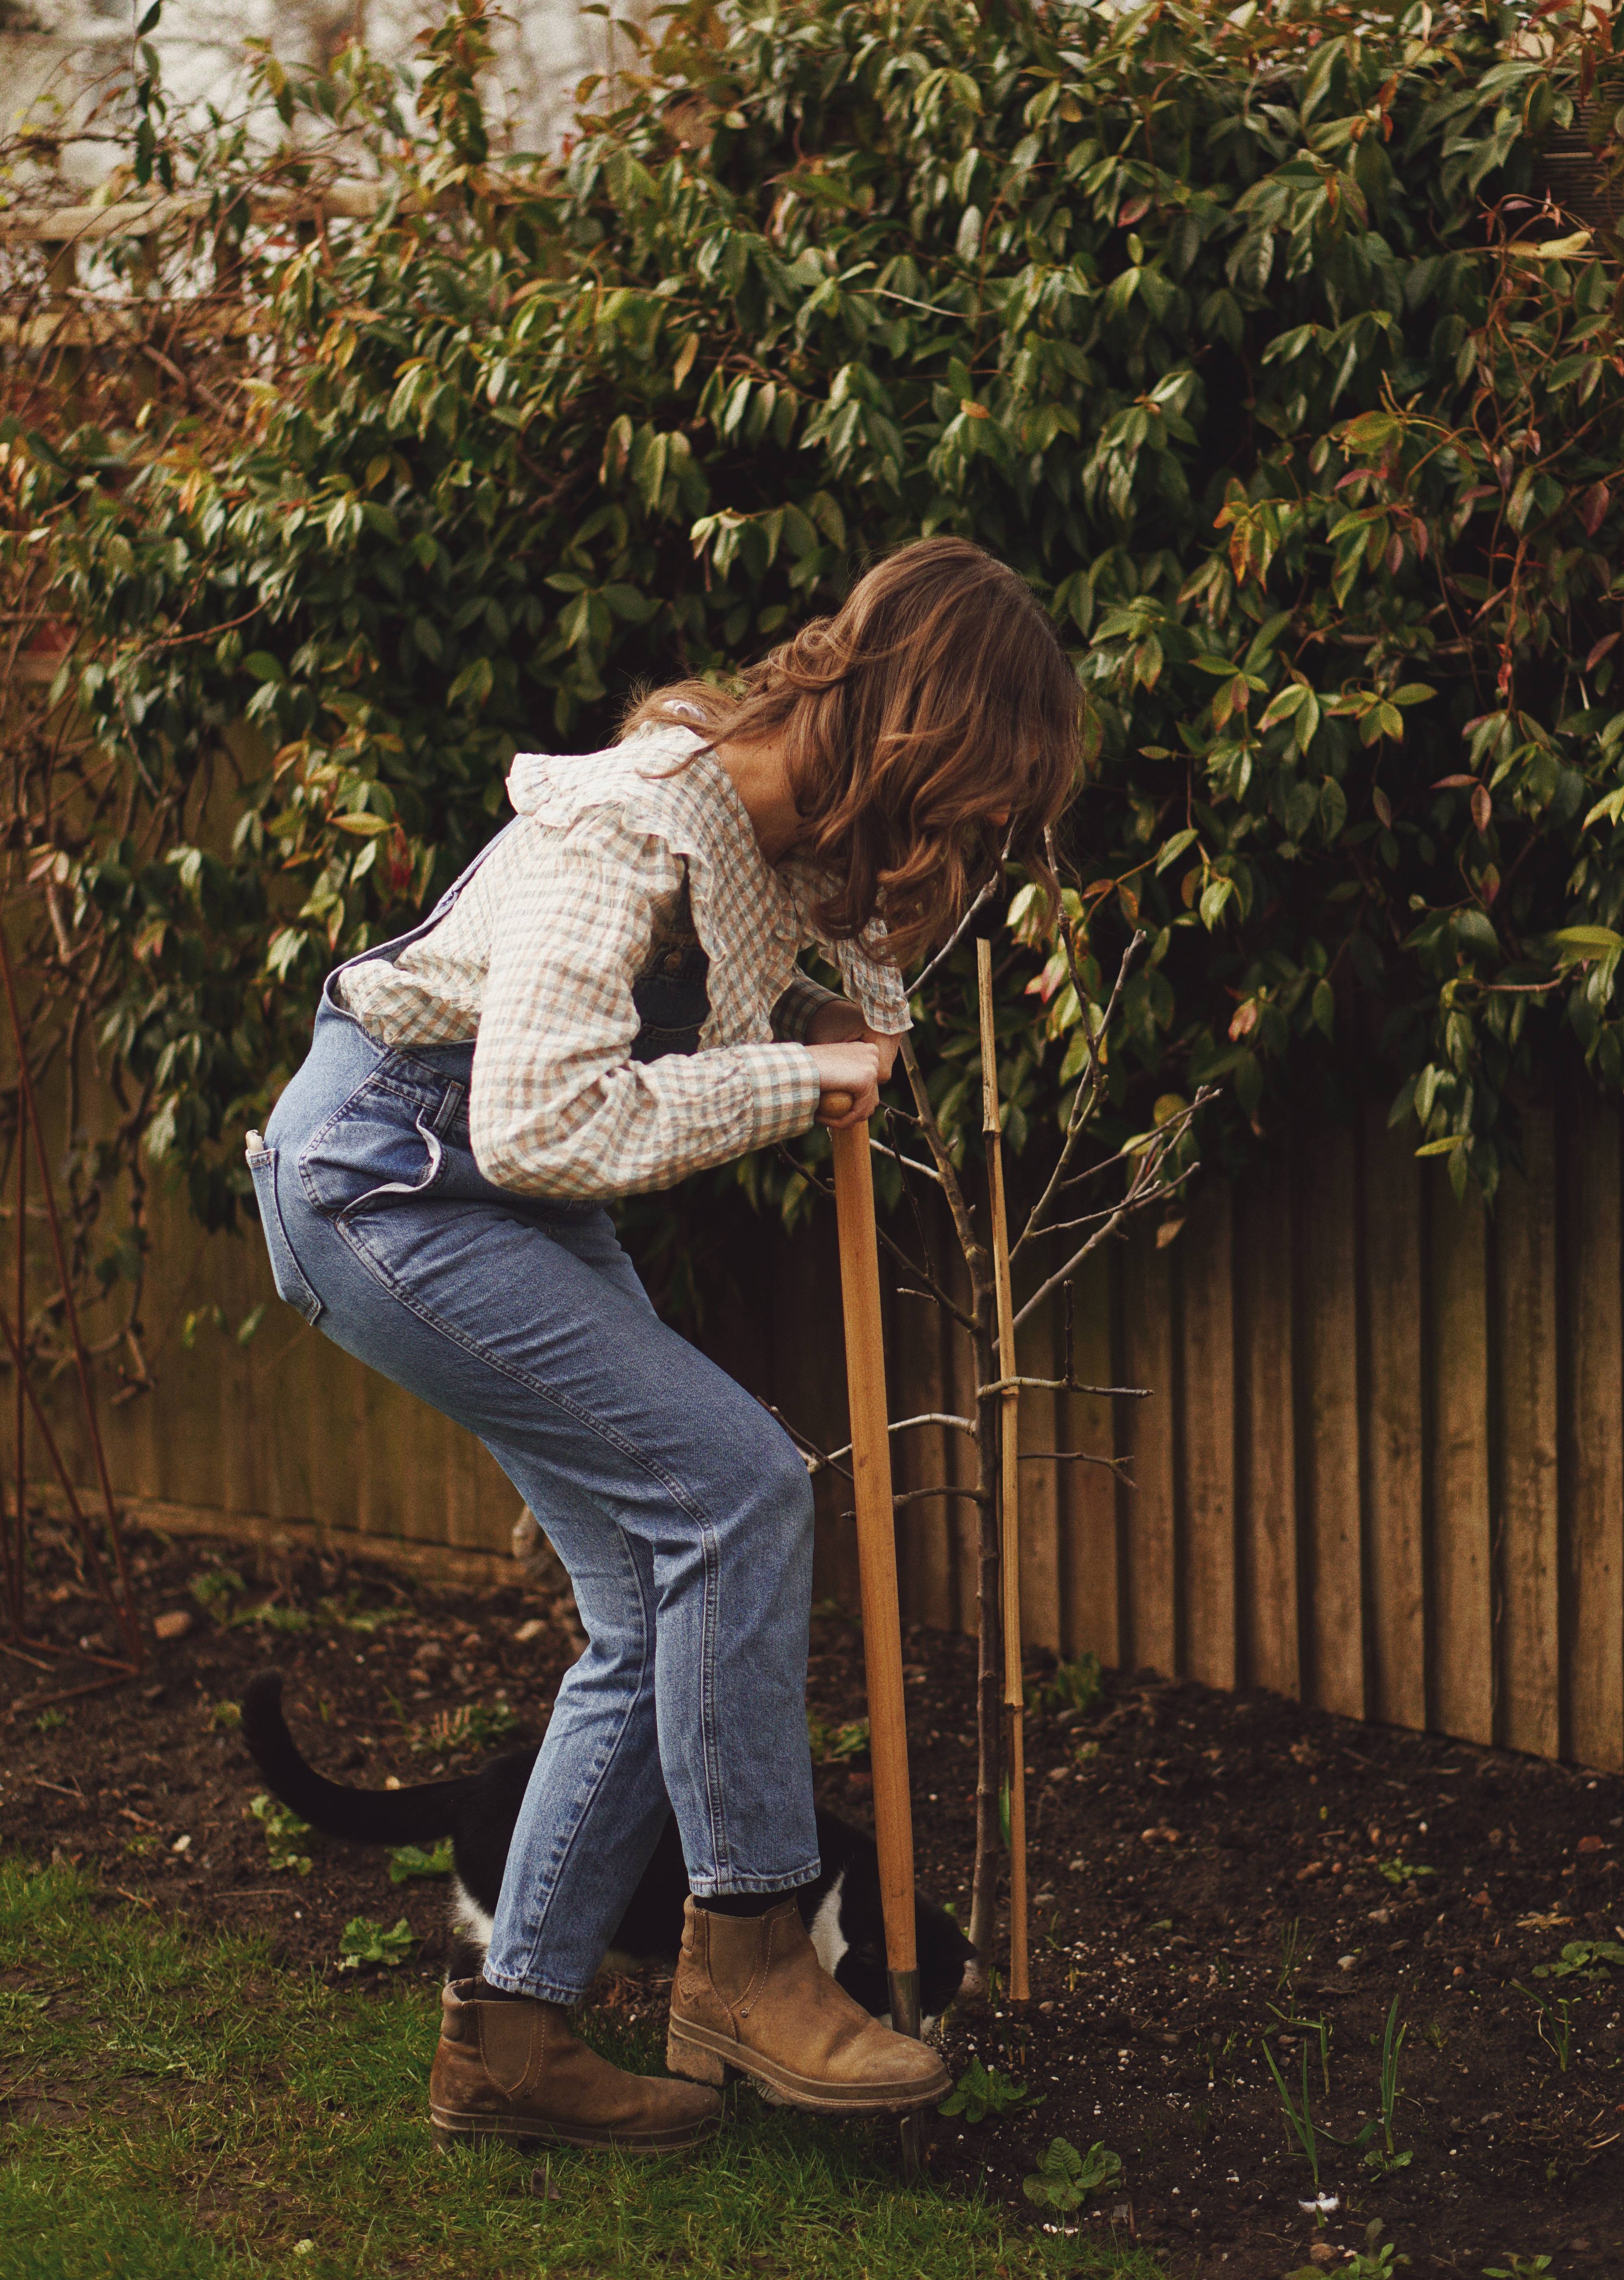
But I find the best thing to do is get cracking and worry about all the mistakes you make later on! So, with a rough idea of what I wanted in my head, and having won the argument with my boyfriend, I started creating the perfect ‘wafty’ borders.
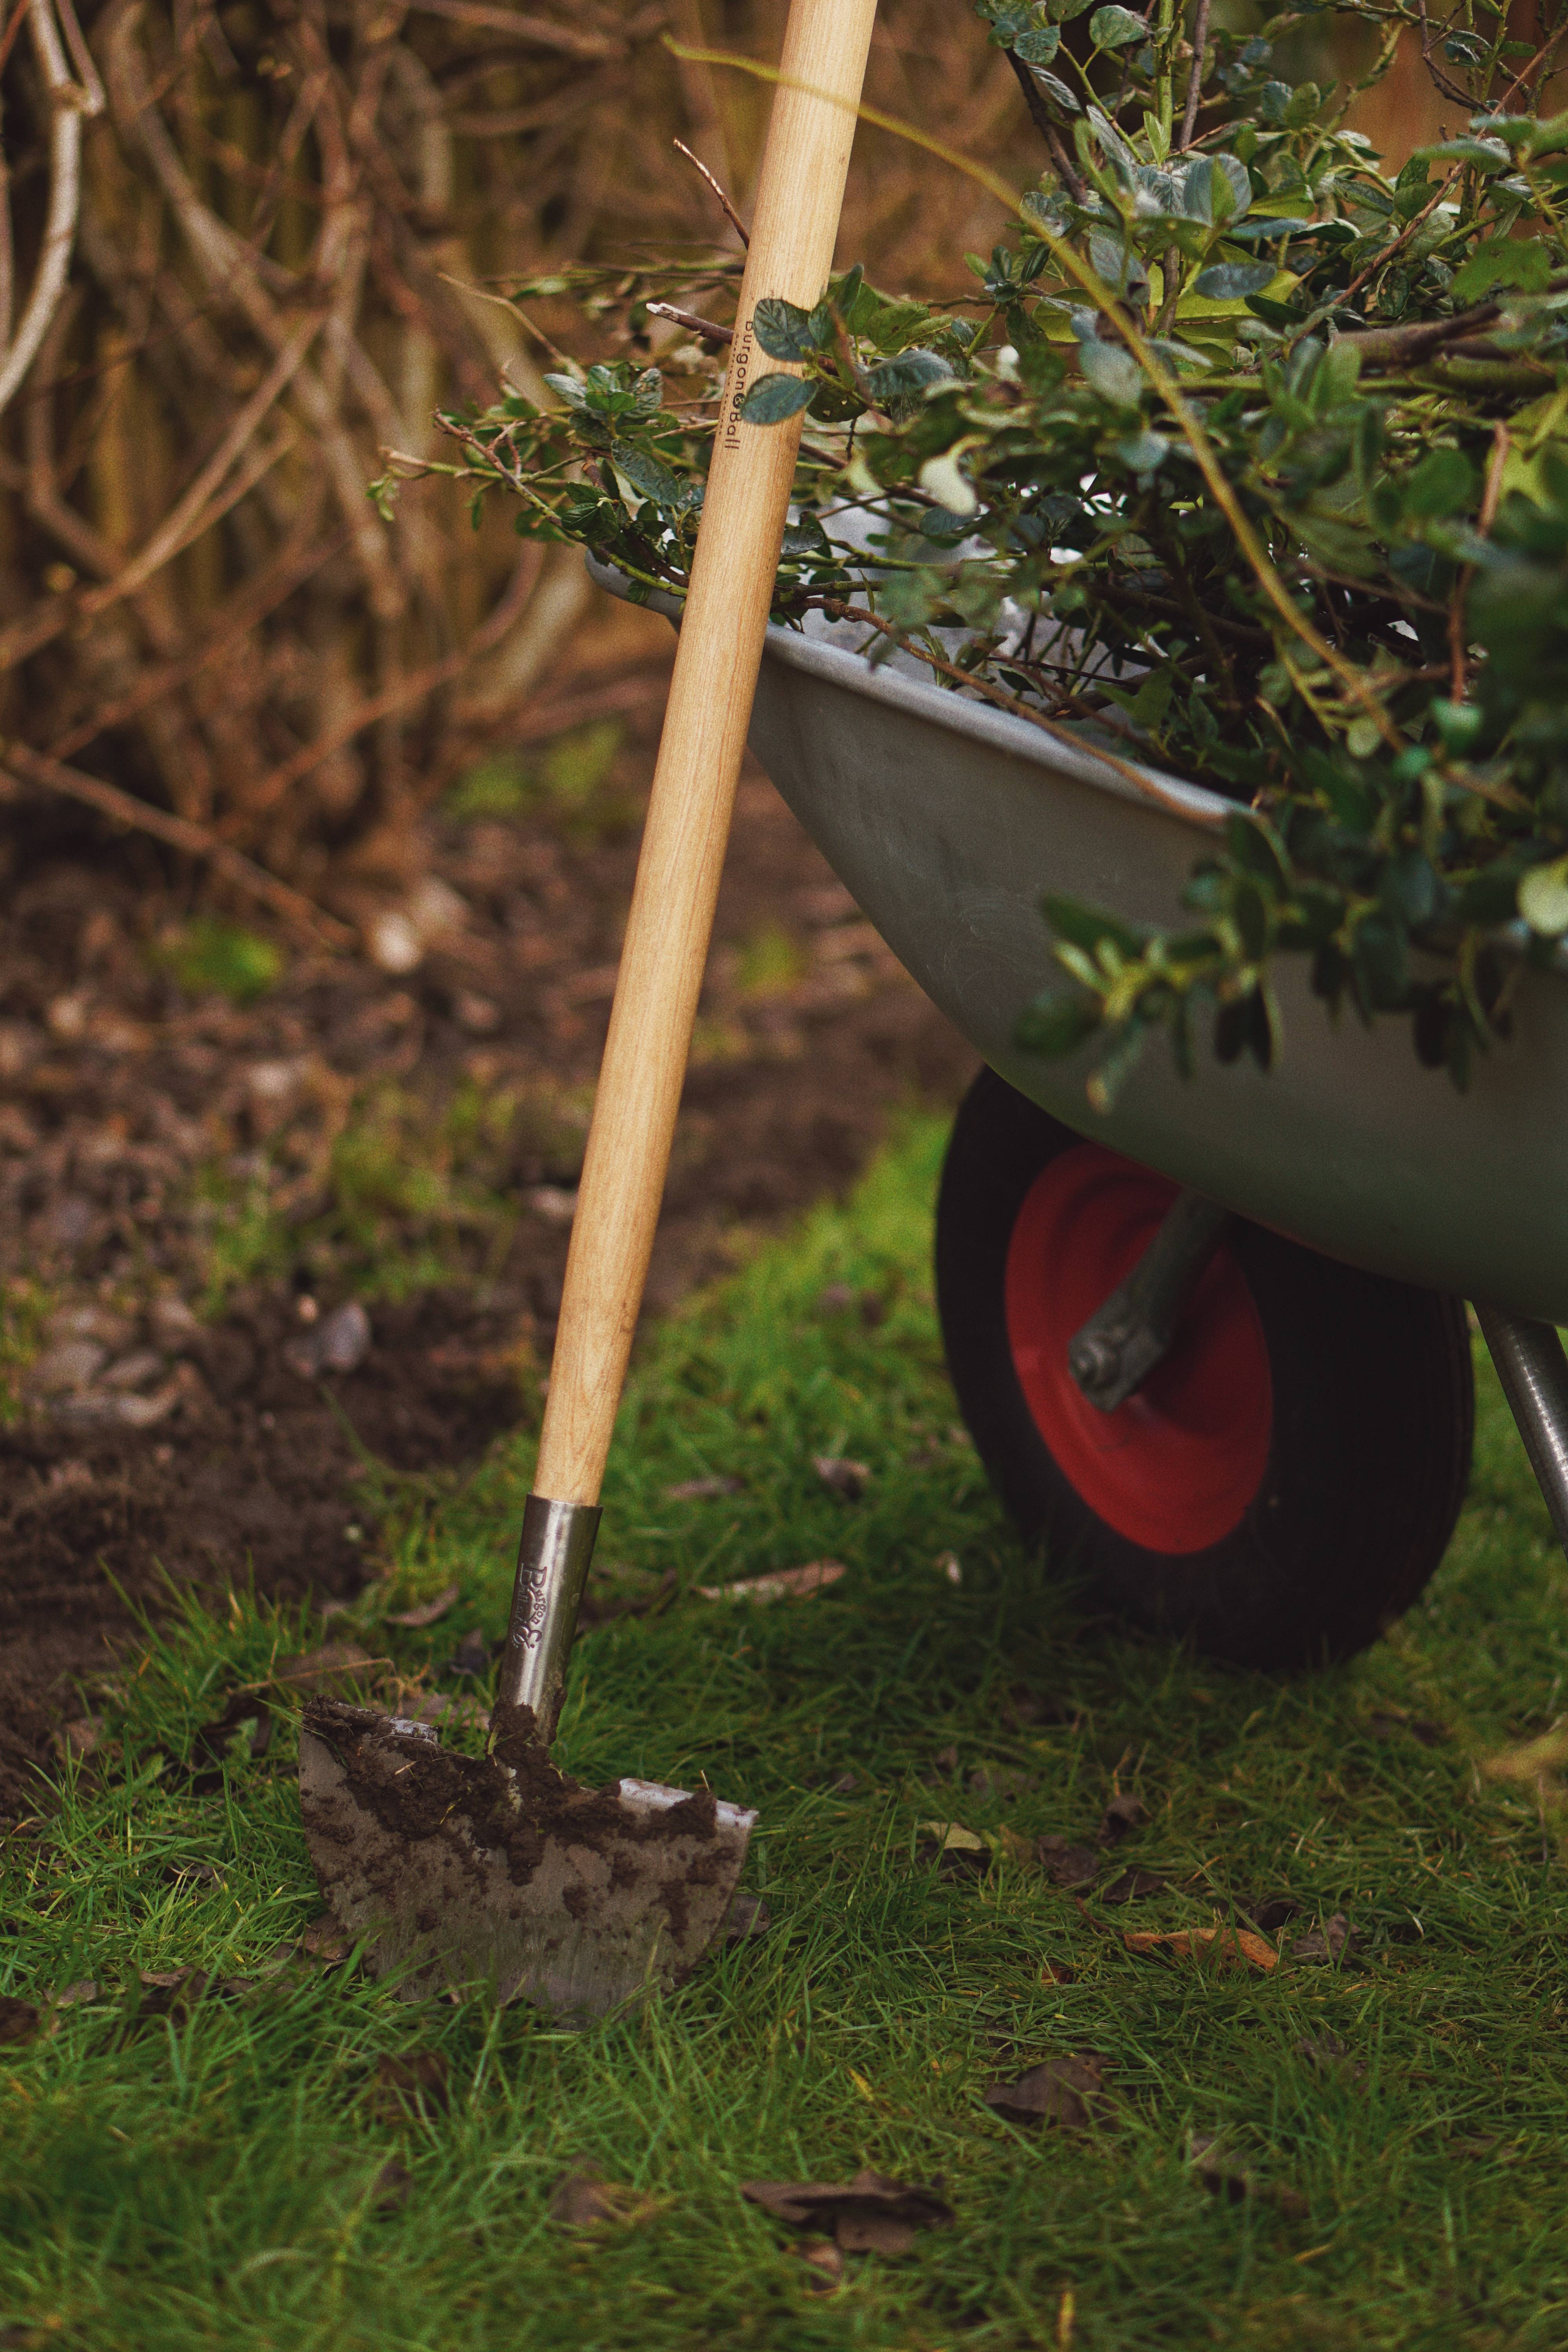
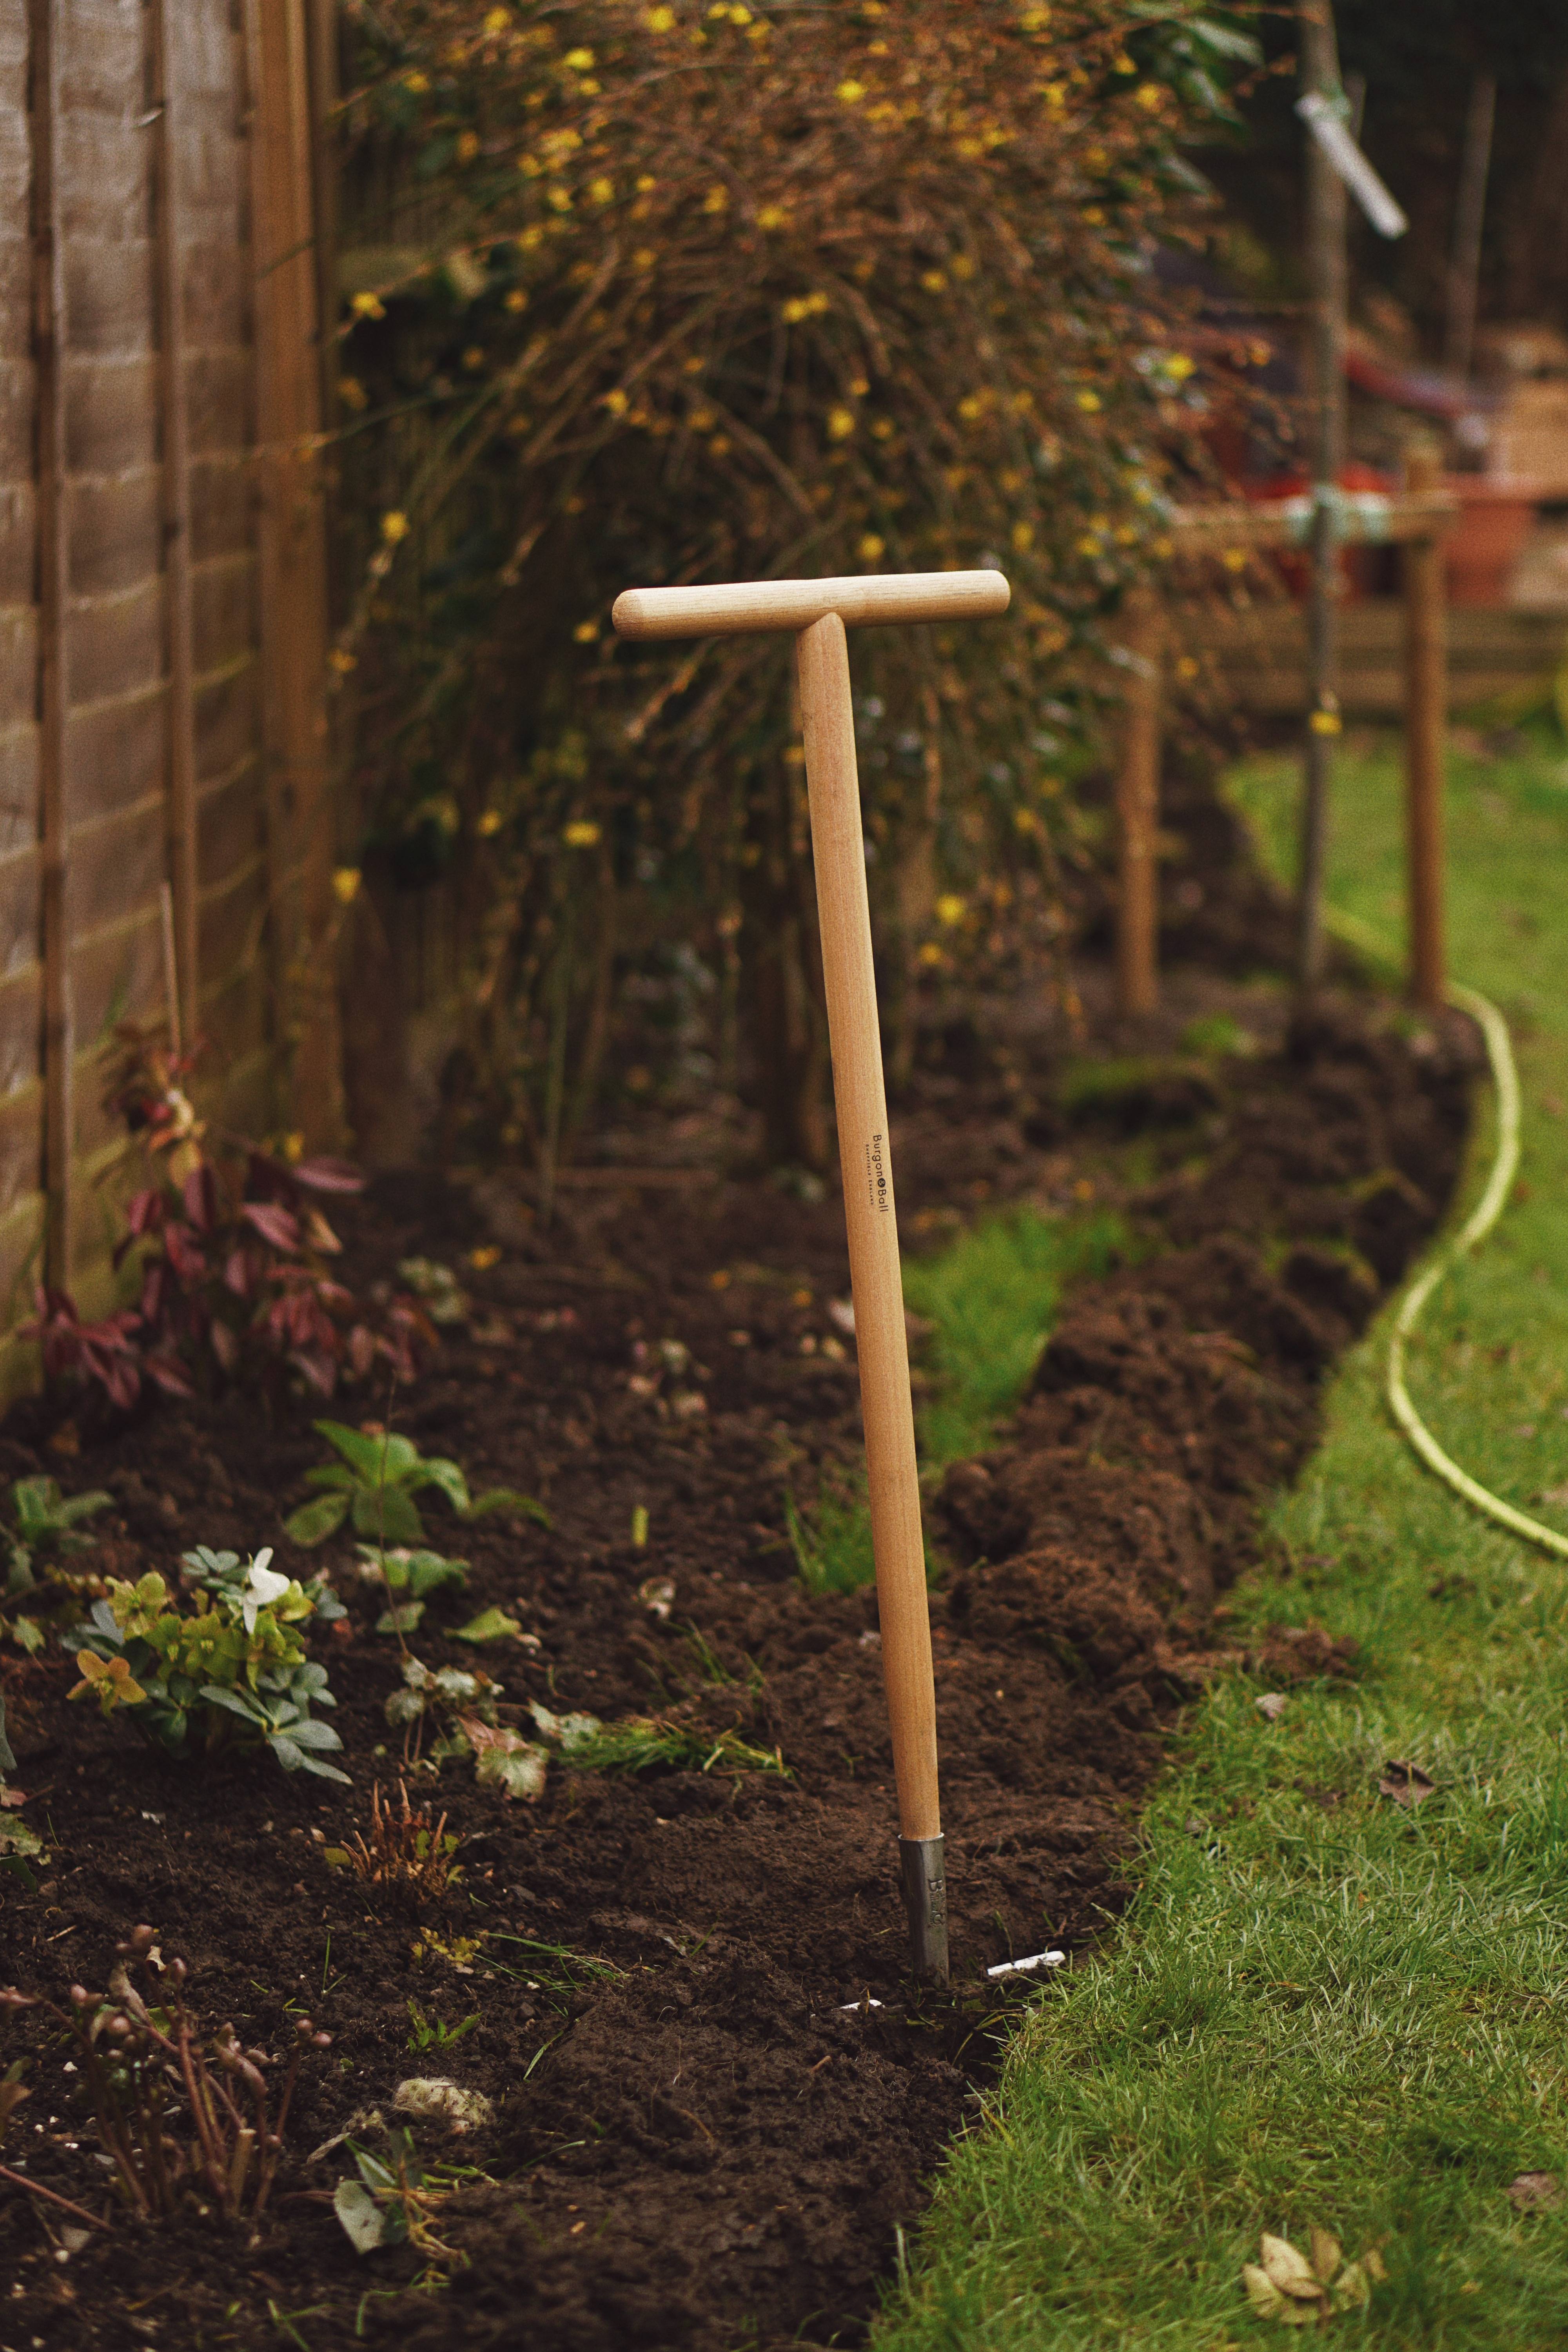
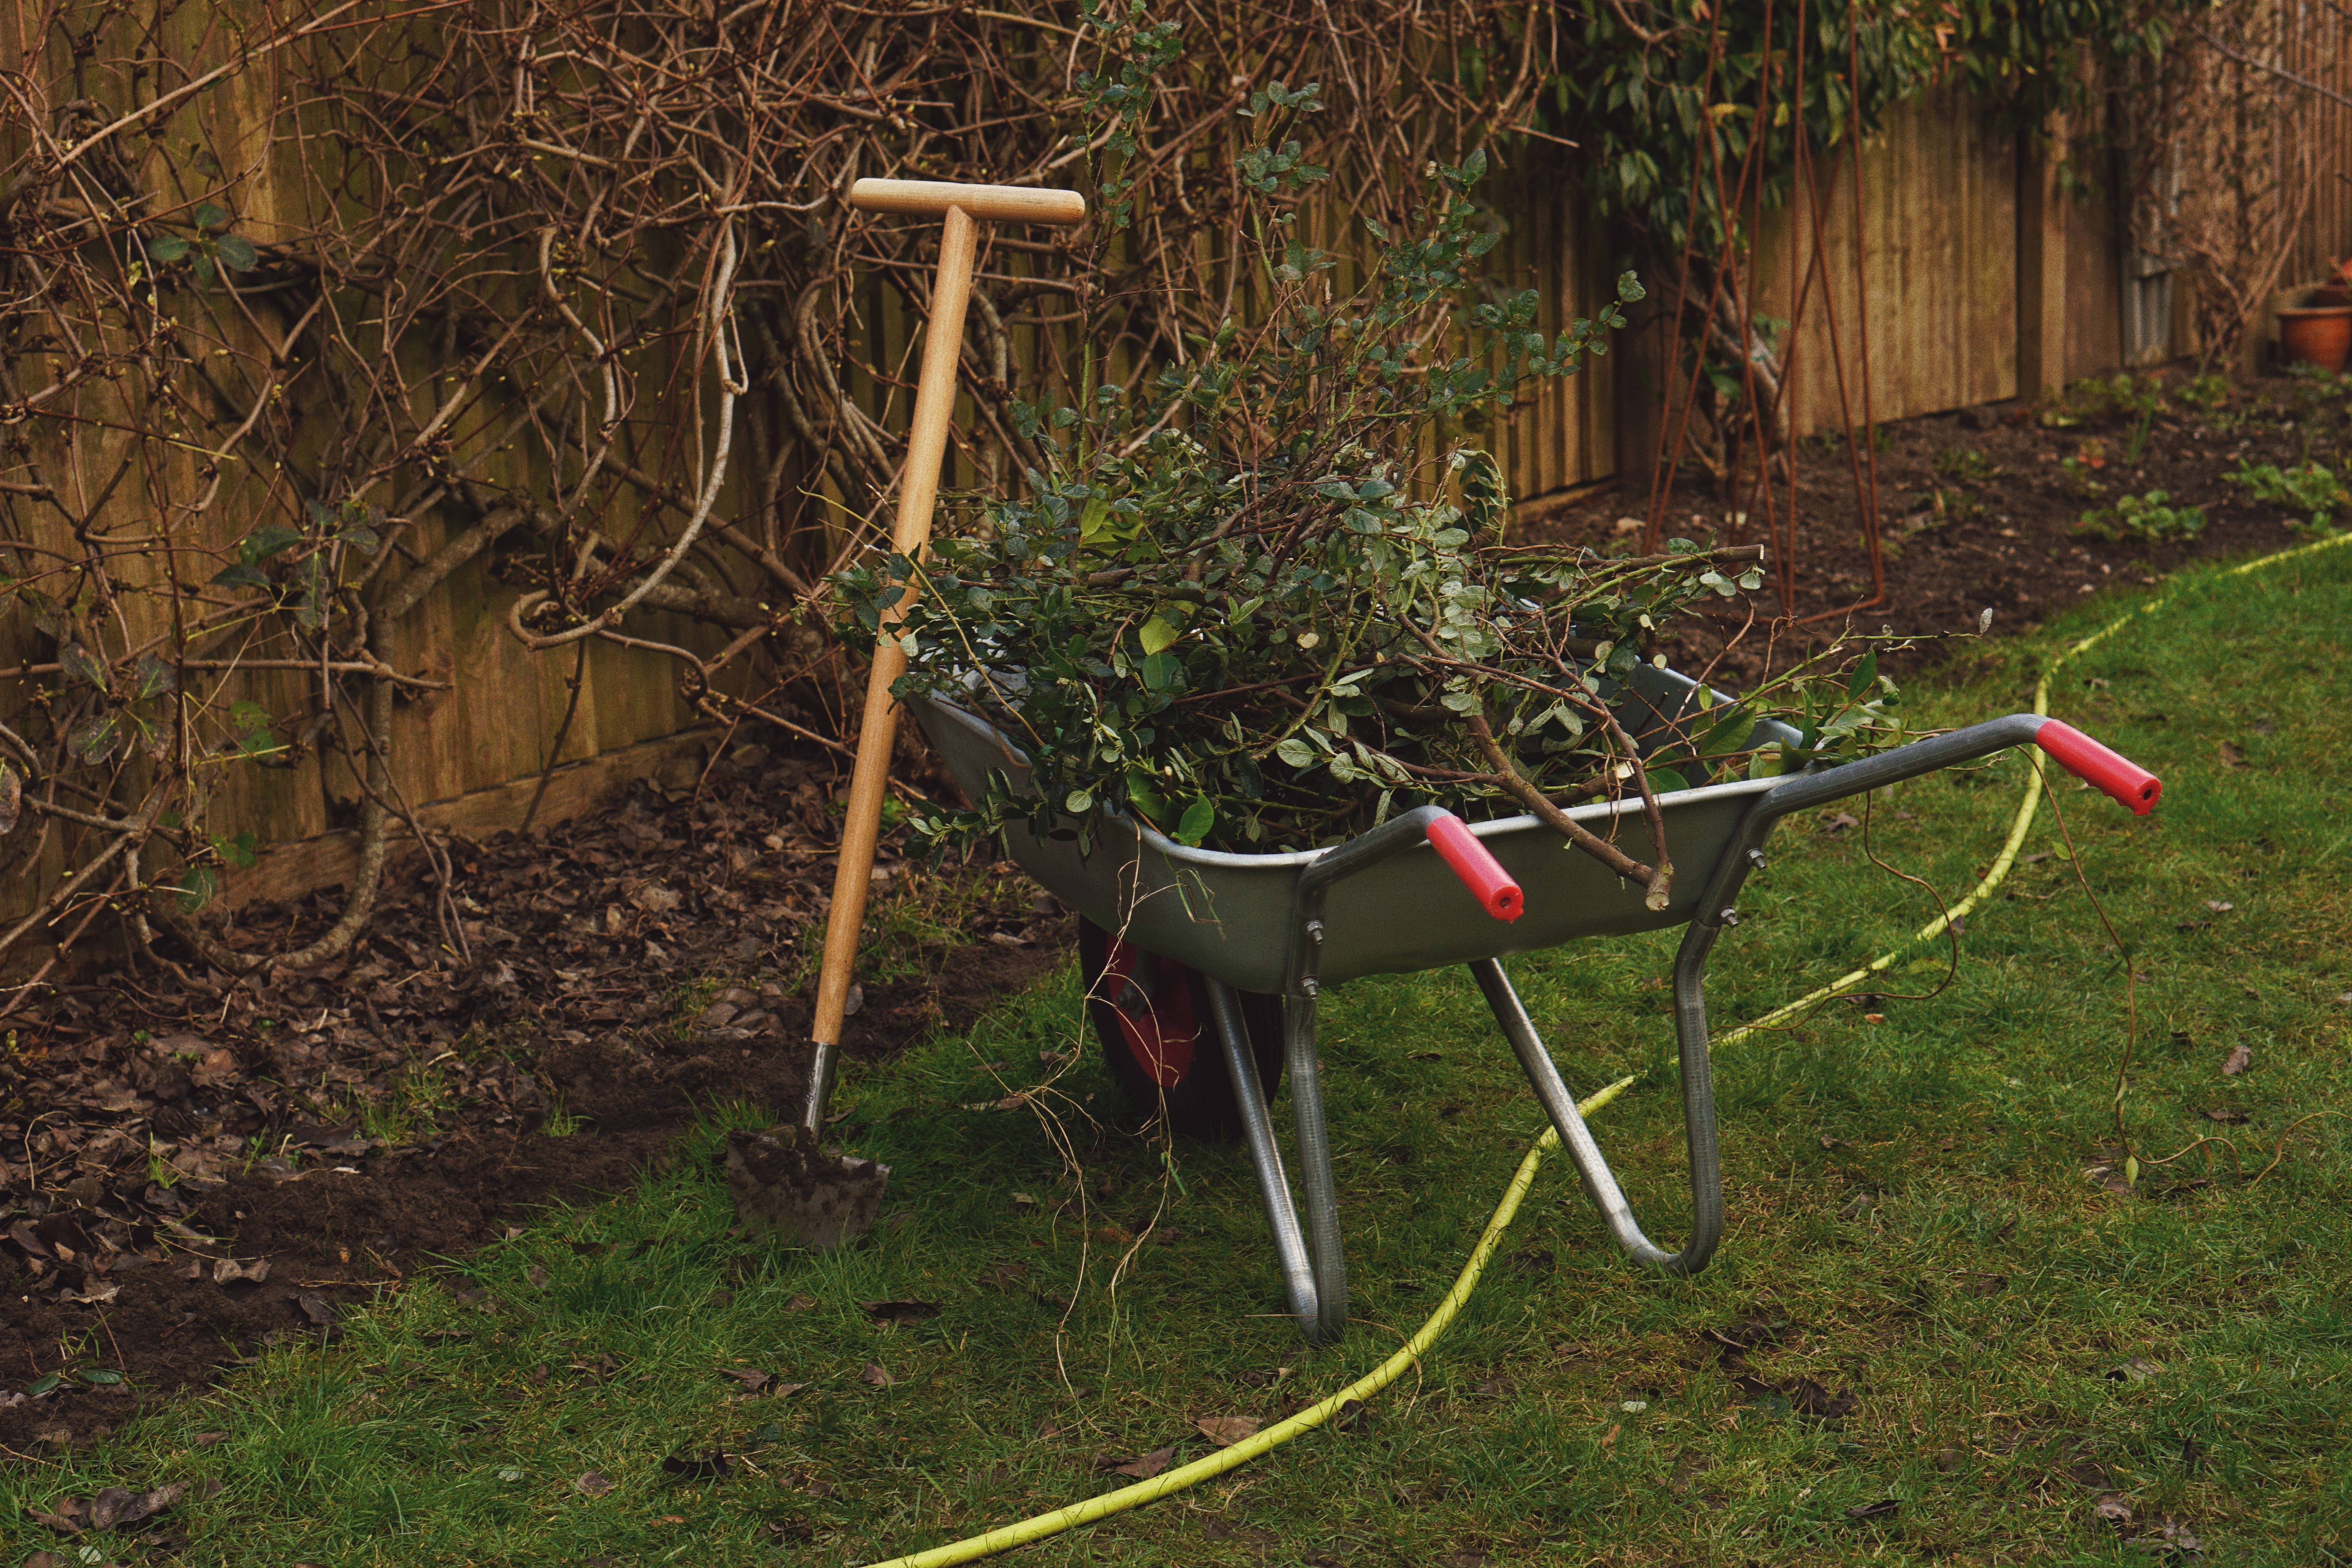
I wanted a gentle curved border either side of the garden and I’d read online that the best way to achieve this is to use your garden hose! I laid my hose out onto of the grass and manoeuvred it to create the perfect curve, stepping back to the patio regularly to see how it looked. When I was happy with it, I picked up my Burgon & Ball half-moon edger and started cutting along the hose to create the border. The half-moon edger has got such a sharp edge on it, it’s the perfect tool for the job and made it so quick and easy! Every time I dug down, I’d flip the turf over, so the lump of grass was upside down. Some people dig the grass out, but I’m trying to follow a no-dig method in my new garden as much as possible, so the next steps will be to lay cardboard along the edge of the border and cover with a thick mulch. Not only is this better for your soil, it’s also a lot less work too!
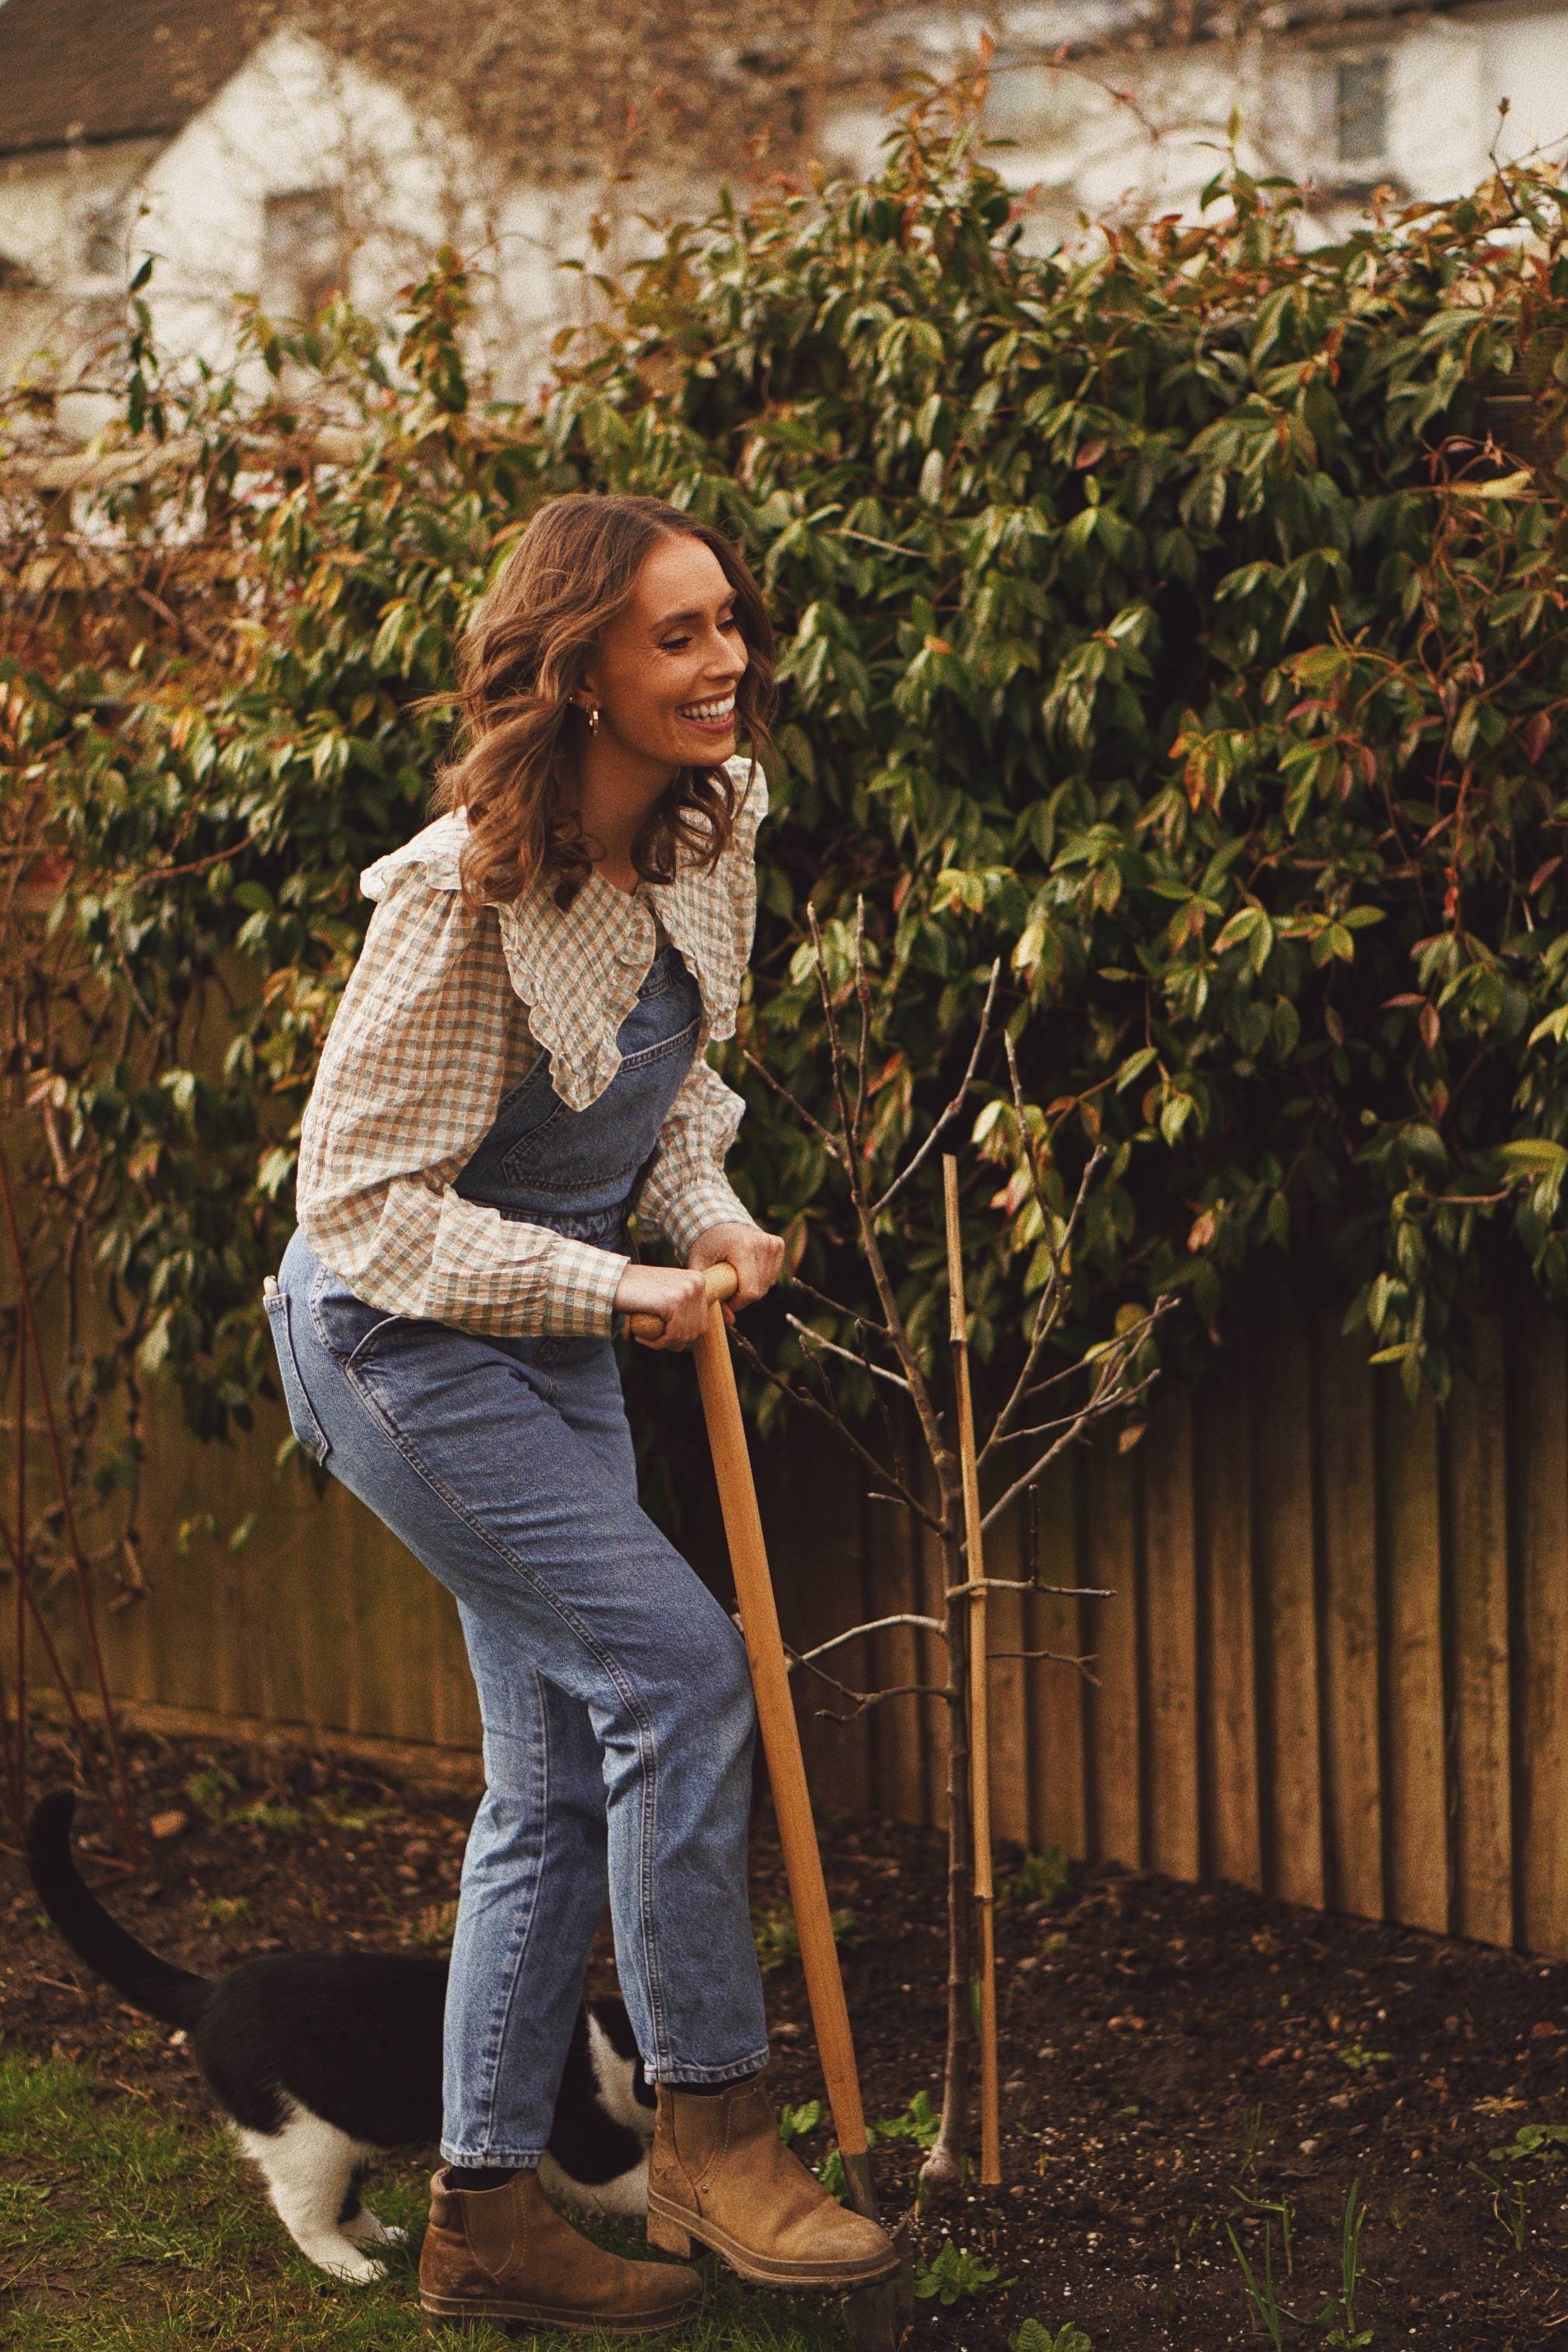
I slowly worked my way along both sides of the garden with my half-moon edger and I was finished in about 20 minutes! After feeling overwhelmed with the garden for months, I’d finally dug out the perfect ‘wafty’ borders, and they looked fabulous.
But what’s a border without anything planted in it?! After I’ve added a good, thick mulch, my next step is to find a load of plants to whack in the borders to create that beautiful, whimsical look I’ve been dreaming of. I’m going to go for cottage garden plants in shades of pale blue, apricot, lemon yellow and white. Delphiniums, lupins and oriental poppies are a few cottage garden-favourites, but they’re going to need staking before they get too big, so I’ll make sure they’re supported with a range of Harrod Horticultural rusty plant supports & stakes.
But before I get ahead of myself, I’m going to admire my new ‘wafty’ borders created with my fantastic half-moon edger and a garden hose!
Keep up with Emma's garden jouney by following her on Instagram & YouTube!
If you've been inspired and want to create your own 'wafty' garden borders, we've got all the lawn care equipment you'll need to do so! See the range here.
View this post on Instagram


